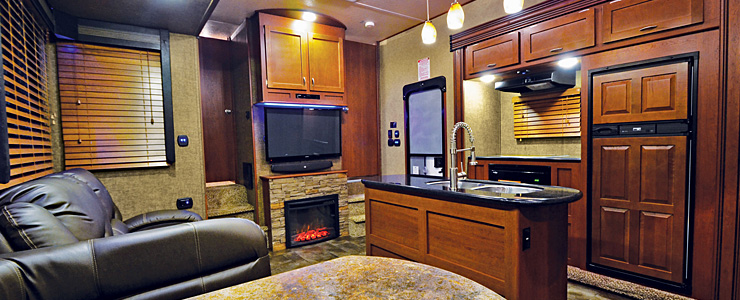
Wood cabinets with solid surface countertops in a recreational vehicle.
Countertops made of solid surface material (i.e., Corian® or HI-MACS®) are an excellent choice and an easy addition to the cabinetmaker’s specialty line. Cabinetmakers are already extremely skilled and detail-oriented in their ability to create cabinetry for any room type using a variety of materials. Yet many may not realize just how easy it is to add a solid surface countertop to a newly constructed cabinet. Doing this adds value to their products, and service to customers, not to mention extra income for the business. Why outsource that extra step, when one already has the skills and tools necessary to easily complete the project?
For those cabinetmakers already offering granite, quartz or other types of stone countertops, consider giving customers another, and possibly more cost effective, choice in countertop material.
Cabinetmakers Already Have the Tools and Skills Needed
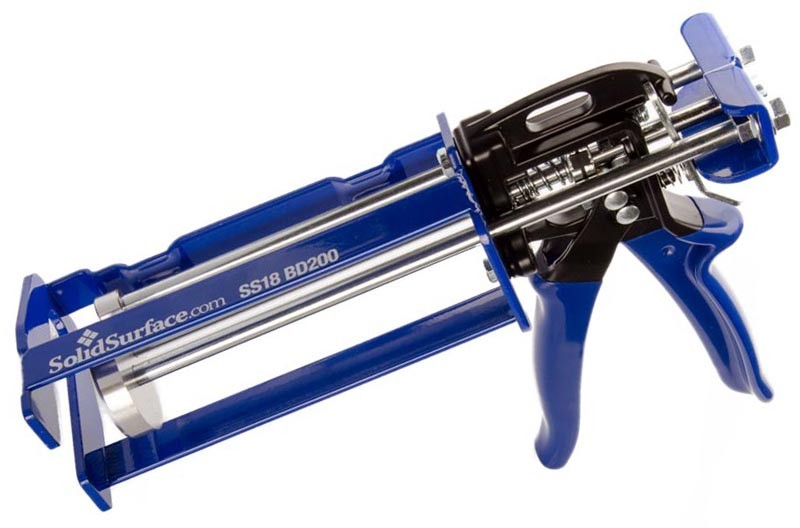
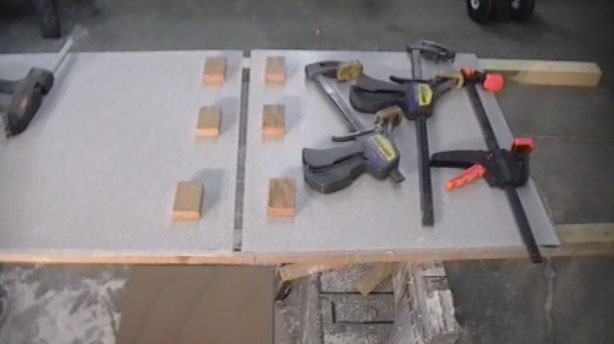
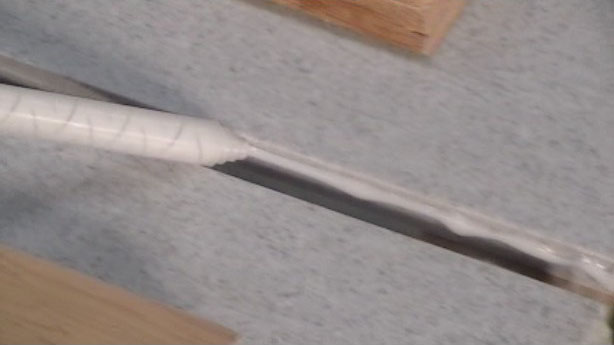
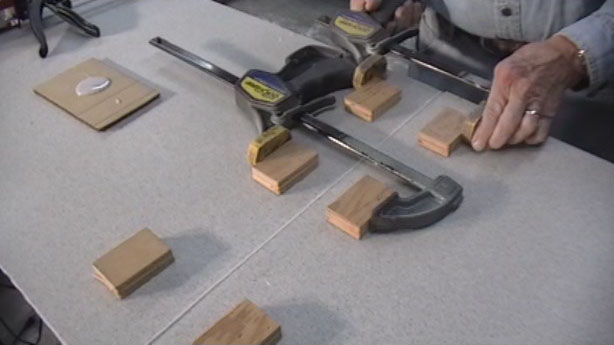
Almost all cabinet shops already have the tools necessary to complete a large percentage of all types of solid surface material fabrication projects. Those tools include: Continue reading